Introduction to Slime Making

Slime: a simple, yet fascinating material that has captivated the hearts and minds of children and adults alike. Its unique texture, vibrant colors, and endless possibilities for customization make it more than just a toy; it’s a tool for creativity, learning, and sensory exploration. Originating from a simple chemical reaction, slime has evolved into a global phenomenon, sparking interest in science and DIY projects. Whether you’re a parent looking for a fun activity, a teacher aiming to introduce scientific concepts, or simply a slime enthusiast, this slime recipe and guide will walk you through everything you need to know to start your slime-making journey. Let’s unlock the secrets of slime and discover why this gooey concoction has become a staple of creative play.
Understanding Slime Ingredients
At its core, slime is the result of a fascinating chemical reaction between polymers and activators. This section breaks down the common ingredients found in most slime recipes, demystifying the science behind the slime.
- Polymers: Typically, the polymer used in slime is polyvinyl acetate, found in white glue. This substance gives slime its stretchy and gooey texture.
- Activators: Activators like borax, liquid starch, or saline solution react with the polymer to form the slime. They link the polymer molecules together, creating the unique texture of slime.
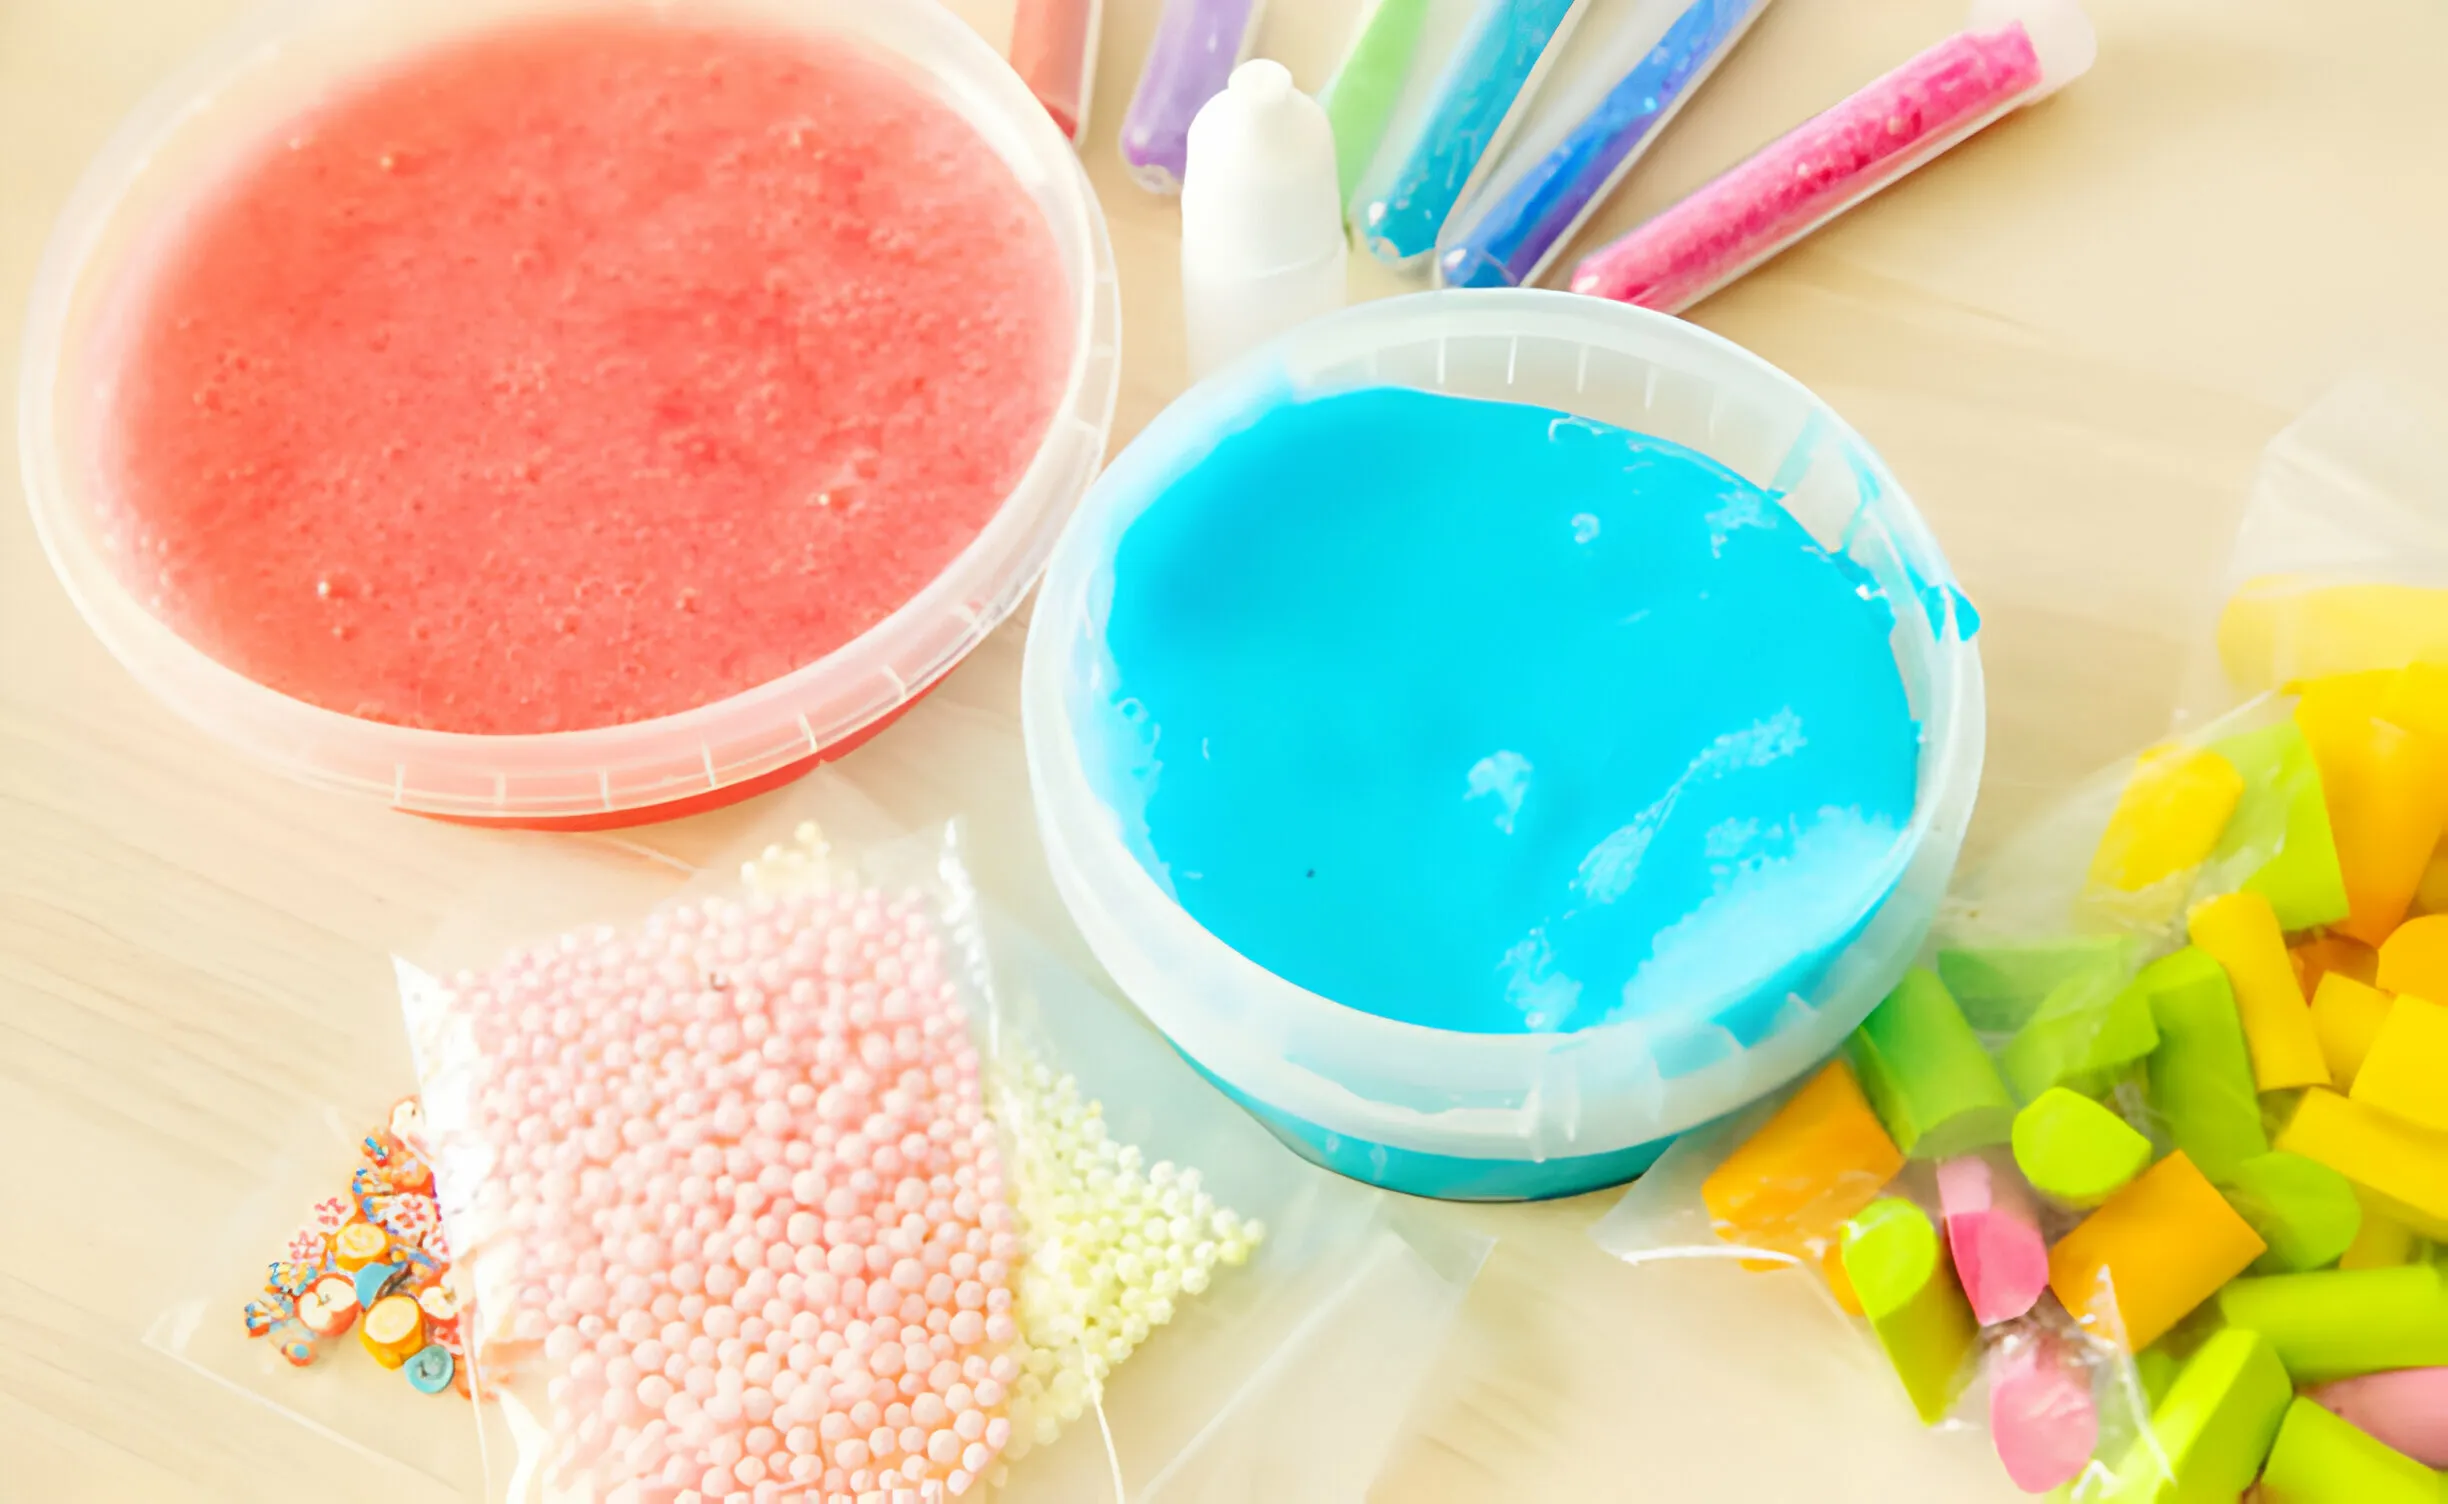
- Additives: Beyond the basic ingredients, various additives can enhance slime’s texture and appearance. These include food coloring for vibrant hues, glitter for sparkle, or even scents for an aromatic experience.
Understanding the roles of these ingredients not only helps in crafting the perfect slime but also opens the door to endless creative possibilities. By altering the ratios and components, you can customize the texture, color, and even behavior of your slime, making each creation uniquely yours.
Basic Slime Recipe
Creating your first batch of slime is an exciting venture into the world of DIY crafts. This basic recipe lays the groundwork for countless variations and hours of fun.
Ingredients:
- 1/2 cup of white school glue (polyvinyl acetate)
- 1/2 cup of water (to dilute the glue)
- 1/4 to 1/2 teaspoon of borax powder dissolved in 1 cup of warm water (as the activator)
- Food coloring or paint (optional for color)
- A few drops of coconut essence (optional for scent)
Instructions:
- Mix the Glue and Water: In a bowl, combine the glue and 1/2 cup of water. Stir until fully mixed. Add your color or scent at this stage.
- Activate the Slime: Slowly add the borax solution to the glue mixture, stirring continuously. The slime will begin to form immediately; keep stirring until it has fully thickened.
- Knead the Slime: Once the slime has pulled together, take it out of the bowl and knead it with your hands to achieve the desired consistency.
This basic slime is just the beginning. As you become more comfortable with the process, you can experiment with different activators, colors, and add-ins to create slimes of all textures and appearances.
Safety Tips and Allergen Alternatives
While making slime is generally safe, adhering to certain safety guidelines ensures everyone can enjoy the fun without worry.
- Supervision: Always supervise young children during slime making to prevent ingestion of ingredients.
- Skin Sensitivity: For those with sensitive skin, wearing gloves can protect against irritation from borax or liquid starch. If borax is a concern, consider using contact lens solution containing boric acid as a milder alternative.
- Allergen Alternatives: For individuals sensitive to the traditional slime ingredients, there are alternatives. Use butter beans recipe as inspiration for substituting ingredients in recipes. For example, xanthan gum can replace borax for those with sensitivities, offering a similar texture without the use of borate chemicals.
Remember, the goal is to have fun and learn, so adapting the recipe to fit everyone’s needs is part of the slime-making adventure.
check this article for more information about is slime-time safe for kids here
Creative Slime Variations
Once you’ve mastered the basic slime recipe, the real fun begins with experimentation. These variations add new textures, appearances, and even functionalities to your slime creations:
- Glitter Slime: By incorporating fine glitter into your basic slime recipe, you can achieve a sparkling effect that dazzles. It’s perfect for themed parties or just adding a bit of magic to your play.
- Fluffy Slime: Add shaving cream to the initial mixture of glue and water for a lighter, fluffier texture. This variation is incredibly soft and adds a new sensory dimension to slime handling.
- Magnetic Slime: Incorporating iron oxide powder and using a strong magnet brings science to life through slime. This unique variation is not only fun to play with but also serves as an educational tool to explore magnetic fields.
- Glow-in-the-Dark Slime: Utilize glow-in-the-dark paint or powder to create slime that lights up the night. This version is a hit at sleepovers and Halloween parties, offering both entertainment and a gentle night light.
Each of these variations can serve as a base for further experimentation, encouraging creativity and scientific exploration through play.
Coloring and Scenting Your Slime
Personalizing your slime with colors and scents adds an extra layer of enjoyment and can make the slime-making process even more engaging.
- Coloring: Food coloring is the most accessible option for adding color to your slime. For more vibrant colors, consider using paint or pigment powders. Remember, a little goes a long way, so start with a few drops and adjust as needed.
- Scenting: Essential oils or food extracts (like vanilla or coconut) can give your slime a pleasant aroma. Ensure any additives are skin-safe, especially when playing with scented slime for extended periods.
When coloring and scenting slime, consider combining themes, such as making orange, pumpkin-scented slime for fall or pastel, floral-scented slime for spring. This customization makes each batch of slime a unique creation that reflects personal tastes or seasonal themes.
Slime Add-Ins for Extra Fun
Adding various materials to your slime can transform its texture, appearance, and even how you play with it. Here are some popular add-ins that promise to elevate the slime experience:
- Beads and Foam Balls: Adding small plastic beads or foam balls to your slime introduces a satisfying crunchy texture. This variation is often referred to as “crunchy slime” and is a favorite among many for its unique feel.
- Sequins and Glitter: For those who love sparkle, mixing in sequins or additional glitter can make your slime shine. This is particularly popular for making themed slimes, like mermaid or galaxy slime.
- Thermochromic Pigment: This temperature-sensitive pigment changes color with heat, such as the warmth from your hands. Mixing this into your slime creates a dynamic plaything that changes as you manipulate it.
- Scented Oils: Beyond the basic scents, experimenting with combinations of essential oils or food extracts can make your slime smell like anything from a fruit basket to a pine forest, enhancing the sensory play.
Incorporating these add-ins not only makes the slime more engaging to play with but also adds an element of creativity and personalization to the crafting process.
Storing and Caring for Your Slime
Proper storage and care are crucial to maintaining your slime’s texture and playability over time. Follow these tips to keep your slime in top condition:
- Airtight Containers: Store your slime in an airtight container to prevent it from drying out. Plastic zip-lock bags can also work in a pinch, especially for larger batches.
- Cool, Dry Place: Keep your slime containers in a cool, dry place away from direct sunlight, which can affect the color and texture of your slime.
- Reviving Old Slime: If your slime becomes stiff or dry, kneading it with a bit of warm water or glycerin can help restore its original texture. For slime that’s too sticky, adding a small amount of activator (like borax solution) can help.
- Cleaning Up: Slime can get messy, especially with add-ins. Keep a clean workspace with paper towels and wipes handy. If slime gets on clothes or fabric, vinegar can help dissolve it before washing.
By incorporating fun add-ins, your slime becomes not just a toy but a customizable piece of art. And with the right storage and care, you can ensure that your slime remains a source of joy and creativity for days, weeks, or even months to come.
Slime Projects and Activities

Slime isn’t just for squishing between your fingers. It can be a centerpiece for a variety of creative projects and learning activities that engage children and adults alike. Here are some ideas to get you started:
- Slime Science Fair Projects: Demonstrate the science behind slime by creating variations that showcase different chemical reactions. For example, compare the effects of using different activators or explore non-Newtonian fluids with a cornstarch and water slime.
- Slime Art: Use colored slime as a medium for art projects. Spread slime on canvas to create abstract art or use cookie cutters to make slime shapes and sculptures.
- Educational Themes: Incorporate slime into lessons about polymers, viscosity, or color mixing. Making slime can be a tactile way to explore these concepts, making learning fun and memorable.
- Slime Party: Host a slime-making party where guests can create their own custom slime. Set up stations with various colors, scents, and add-ins, and let creativity take over.
Incorporating slime into these activities not only amplifies the fun but also adds an educational element, making it a valuable tool for both play and learning.
Advanced Slime Making Tips
For those ready to take their slime-making to the next level, here are some techniques and ideas for achieving unique textures and effects:
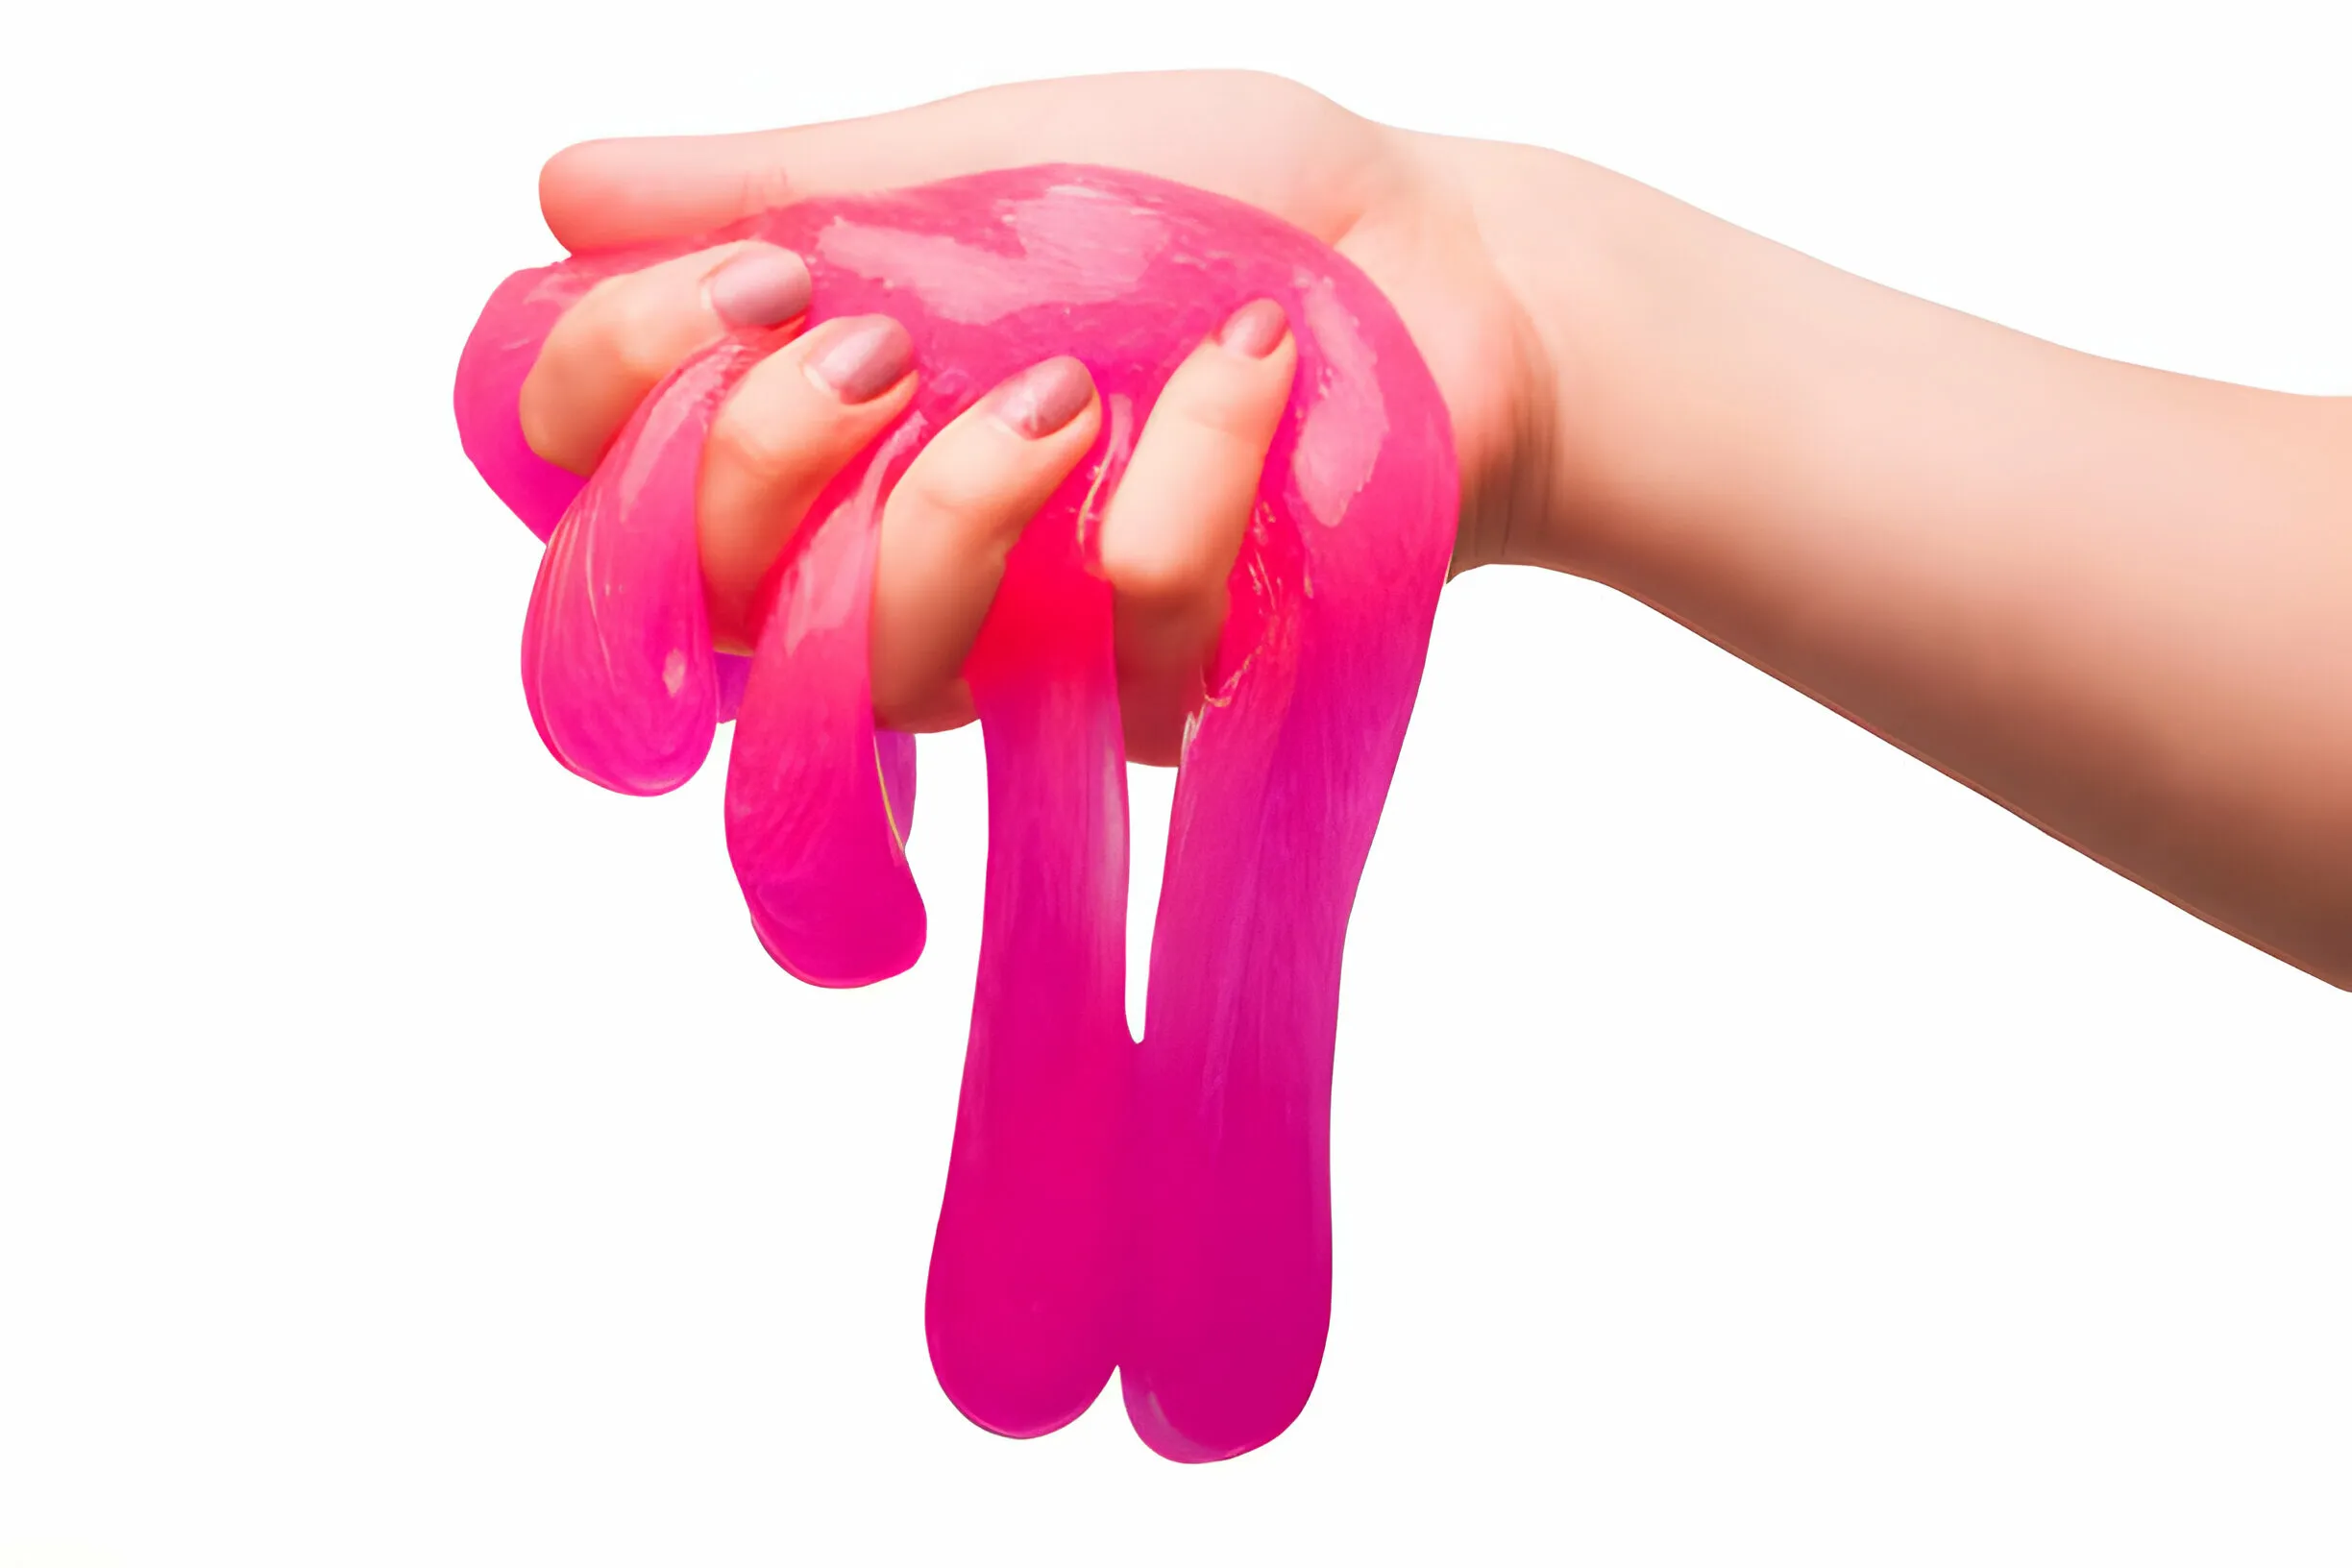
- Achieving Super Stretchy Slime: To make your slime extra stretchy, add a bit of lotion or glycerin during the kneading process. This can enhance the elasticity and prevent the slime from tearing.
- Clear Slime: For a crystal-clear slime, use a clear PVA glue as your base and be patient. Clear slime requires a longer resting time after mixing, often up to 3 days, to achieve complete transparency.
- Heat-Sensitive Slime: Mix thermochromic pigment into your slime base to create slime that changes color with temperature changes. This adds a wow factor and can be a great conversation starter about thermodynamics.
- Biodegradable Slime: For an eco-friendly option, experiment with biodegradable glues and natural colorants. This version of slime is perfect for those conscious of their environmental impact but still looking for the sensory satisfaction slime provides.
These advanced tips encourage experimentation and creativity, pushing the boundaries of traditional slime making to create truly unique and personalized slime experiences.
FAQs About Making Slime
In the world of slime making, certain questions arise time and again. Here are answers to some of the most common queries:
- Why did my slime turn out too hard or too liquidy? The consistency of slime can vary greatly depending on the ratio of ingredients. If your slime is too hard, it may have too much activator. Try kneading in more glue to soften it. Conversely, if it’s too liquidy, gradually add more activator until you reach the desired consistency.
- Can slime be made without borax? Absolutely! While borax is a popular activator, you can also use alternatives like liquid starch, saline solution (containing boric acid and sodium borate), or contact lens solution and baking soda. Each activator offers a slightly different texture, so feel free to experiment.
- Is slime safe for all ages? Slime is safe for most children and adults, but it’s not recommended for kids under the age of 3 due to the risk of ingesting small amounts. Always supervise younger children during slime play, and ensure hands are washed thoroughly after handling.
- How can I prevent my slime from sticking to hands? A well-balanced slime shouldn’t stick too much. If stickiness persists, rubbing a small amount of activator on your hands before playing can help. Alternatively, let the slime sit for a few minutes after mixing, as it can become less sticky over time.
Conclusion
Slime making is more than just a fun activity; it’s a doorway to creativity, sensory play, and scientific exploration. Whether you’re a parent seeking educational activities, a teacher incorporating hands-on learning, or simply someone who loves the tactile satisfaction of slime, this guide has provided the tools and knowledge to embark on your slime-making journey. From the basic recipe to creative variations and advanced techniques, the possibilities are as limitless as your imagination.
We hope this guide inspires you to dive into the world of slime, explore new textures and colors, and share the joy of your creations with others. Remember, slime making is an art, not a science—so don’t be afraid to experiment, make mistakes, and most importantly, have fun!
Call to Action
Have you discovered a unique slime recipe or a creative use for your slime? Share your experiences and creations with our community at RecipeStrip.com. Let’s continue to explore, learn, and create together. Happy slime making!