Introduction to Cocomelon Cake
Cocomelon Cake: A Delightful Centerpiece for Children’s Parties
In recent years, the Cocomelon theme has taken the world of children’s parties by storm. Originating from the popular educational YouTube channel, Cocomelon has become a household name, captivating the hearts of young children with its colorful animations and catchy songs. The Cocomelon cake, inspired by this beloved series, is not just a dessert; it’s a centerpiece that brings joy and excitement to any child’s celebration.
Why Choose a Cocomelon Cake?
Choosing a Cocomelon cake for your child’s party is more than just following a trend. It’s about creating a memorable experience. These cakes are known for their vibrant colors, intricate designs, and the ability to be customized to fit any party theme. Whether it’s a birthday, a milestone celebration, or just a special treat, a Cocomelon cake is sure to light up children’s faces with delight.
What to Expect in This Guide
This guide is designed to take you through the journey of creating a Cocomelon cake from scratch. Whether you’re a seasoned baker or a beginner, these step-by-step instructions will help you bake, assemble, and decorate a Cocomelon cake that’s both delicious and visually stunning. We’ll cover everything from the essential ingredients and tools, to baking the perfect cake base, making silky smooth buttercream, and mastering the art of cake decoration.
So, let’s embark on this sweet adventure and create a Cocomelon masterpiece that will be the talk of the party!
What You Need to Know Before Starting
Embarking on Your Cocomelon Cake Adventure
Before diving into the baking and decorating process, it’s essential to understand what makes a Cocomelon cake special and what you’ll need to get started. This cake is more than just a treat; it’s a creative expression that brings the vibrant world of Cocomelon into the realm of baking.
Planning is Key
Creating a Cocomelon cake requires careful planning. From choosing the right flavors to deciding on the design details, each step plays a crucial role in the outcome. Consider reading our guide on planning the perfect party cake, which offers valuable tips and insights.
Understanding the Complexity
The Cocomelon cake can be as simple or as intricate as you wish. If you’re new to themed cake decorating, you might want to start with simpler designs. For more experienced bakers, intricate designs with multiple elements can be a fun challenge. Either way, patience and practice are your best tools.
Gathering Your Tools and Ingredients
Having the right tools and ingredients is crucial. This includes everything from the quality of your baking ingredients to the type of cake pans you use. For a list of essential baking tools, check out our article on must-have baking tools for every baker.
Ingredients and Tools Required
Essential Ingredients for a Flavorful Cocomelon Cake
Creating a delicious Cocomelon cake starts with selecting the right ingredients. The base of this cake is typically a red velvet cake, known for its vibrant color and subtle cocoa flavor. Here’s what you’ll need:
- Cake flour
- Unsweetened cocoa powder
- Baking soda
- Salt
- Unsalted butter
- Granulated sugar
- Eggs
- Buttermilk
- Vegetable oil
- Red gel food coloring
- Vanilla extract
- White vinegar
For the buttercream frosting:
- Unsalted butter
- Vanilla extract
- Powdered sugar
- Heavy cream
- Gel food coloring (various colors)
Tools for Crafting Your Cake
Having the right tools can make the cake-making process much smoother. Here’s a list of tools you’ll need:
- Cake pans (preferably 6-inch for layering)
- Mixing bowls
- Electric mixer (stand or hand)
- Sift
- Measuring cups and spoons
- Spatula
- Piping bags and tips (various sizes)
- Cake leveler or serrated knife
- Turntable for cake decorating
For more details on these tools and their uses, you might find our article on baking tools and their functions helpful.
Step-by-Step Baking Guide
Baking the Perfect Red Velvet Cake Layers
The foundation of your Cocomelon cake is the red velvet cake layers. Here’s a step-by-step guide to ensure they turn out perfectly:
- Preheat and Prepare: Start by preheating your oven to 350°F (175°C). Grease your cake pans and line them with parchment paper for easy removal.
- Mix Dry Ingredients: In a bowl, sift together the cake flour, cocoa powder, baking soda, and salt. This ensures a smooth, lump-free batter.
- Cream Butter and Sugar: In a separate bowl, cream the unsalted butter and granulated sugar until light and fluffy. This process incorporates air into the batter, making the cake light.
- Add Eggs and Wet Ingredients: Beat in the eggs, one at a time, followed by the buttermilk, vegetable oil, red gel food coloring, vanilla extract, and white vinegar. Mix until just combined.
- Combine Dry and Wet Ingredients: Gradually add the dry ingredients to the wet mixture, mixing until just combined. Be careful not to overmix.
- Bake the Cake Layers: Divide the batter evenly among the prepared pans. Tap the pans gently on the counter to release any air bubbles. Bake for 30-33 minutes or until a toothpick inserted into the center comes out clean.
- Cooling: Allow the cakes to cool in the pans for about 10 minutes, then transfer them to a wire rack to cool completely.
For more tips on baking the perfect cake, check out our comprehensive guide on cake baking essentials.
Making the Vanilla Buttercream Frosting
Crafting the Perfect Buttercream for Your Cocomelon Cake
A smooth, creamy buttercream is essential for both the taste and look of your Cocomelon cake. Here’s how to make a vanilla buttercream that’s easy to work with and delicious:
- Beat the Butter: Start with room-temperature unsalted butter. Beat it using an electric mixer until it’s smooth and creamy. This should take about 2-3 minutes.
- Incorporate Vanilla and Salt: Add in the vanilla extract and a pinch of salt. Mix until they’re well incorporated into the butter.
- Gradually Add Powdered Sugar: Slowly add the powdered sugar, one cup at a time, while continuously mixing. This gradual process helps to create a smooth, lump-free frosting.
- Adjust Consistency: Add heavy cream, one tablespoon at a time, to reach the desired consistency. The frosting should be smooth and spreadable, but firm enough to hold its shape.
- Color the Frosting: Divide the frosting into portions, depending on the number of colors you need for your Cocomelon design. Use gel food coloring to tint each portion to the desired shade.
Tips for Perfect Buttercream
- Ensure all ingredients are at room temperature for a smoother blend.
- If the frosting is too thick, add a bit more cream. If it’s too thin, add more powdered sugar.
- For a deeper dive into making flawless buttercream, you might find our article on mastering buttercream frosting helpful.
Coloring and Preparing the Frosting
Bringing Colors to Life in Your Cocomelon Cake
A key feature of the Cocomelon cake is its vibrant and varied colors. Here’s how to prepare your colored buttercream frostings:
- Divide the Frosting: Based on your Cocomelon design, divide the vanilla buttercream into separate bowls for each color you plan to use.
- Coloring the Frosting: Add gel food coloring to each bowl. Start with a small amount and gradually add more until you achieve the desired shade. Remember, the colors will develop over time, so it’s better to start with less.
- Mixing Colors: For complex colors, you may need to mix different food colorings. For example, to get a perfect shade of Cocomelon green, you might need to mix blue and yellow.
- Preparing Piping Bags: Fit your piping bags with the appropriate tips. Spoon each colored frosting into its own bag. If you’re using multiple tips for one color, prepare several bags of that color.
- Consistency Check: Ensure that the frosting is the right consistency for piping. It should be firm enough to hold its shape but soft enough to pipe easily.
Tips for Working with Colored Frosting
- Use gel food coloring for more vibrant colors.
- If the frosting becomes too soft after coloring, chill it in the refrigerator for a few minutes.
- Practice piping on a plate or parchment paper before starting on the cake.
For more tips on coloring and preparing frosting, check out our detailed guide on creative cake decorating.
Assembling the Cake
Layering and Frosting: Building Your Cocomelon Masterpiece
Assembling your Cocomelon cake is where the fun really begins. This is where your baking and frosting skills come together to start forming the cake’s final appearance.
- Leveling the Cake Layers: Once your cakes are completely cooled, level them using a cake leveler or a serrated knife. This ensures each layer sits flat and the cake is stable.
- The First Layer: Place the first cake layer on your cake board or stand. Secure it with a small dab of frosting to prevent slipping.
- Adding Filling: Spread an even layer of frosting over the first layer. If you’re adding any fillings (like fruit or flavored buttercream), now is the time.
- Stacking Layers: Carefully place the second layer on top of the first, and repeat the frosting process. Continue until all layers are stacked.
- Crumb Coat: Apply a thin layer of frosting around the entire cake. This is called a crumb coat and helps to keep crumbs from appearing in your final layer of frosting. Chill the cake for about 20-30 minutes to set the crumb coat.
- Final Frosting: Once the crumb coat is set, apply the final layer of frosting. Use an offset spatula or a cake scraper to smooth the frosting.
Tips for a Perfect Assembly
- Ensure your cake layers are completely cool before assembly.
- A turntable can be a great help in applying frosting evenly.
- For more detailed instructions on cake assembly, visit our guide on assembling the perfect layered cake.
Decorating the Cocomelon Cake
Creating the Iconic Cocomelon Look
Decorating your cake is where you bring the Cocomelon theme to life. This section will guide you through the process of transforming your frosted cake into a Cocomelon masterpiece.
- Sketching the Design: Before you start piping, sketch out your design lightly on the cake with a toothpick. This can include the Cocomelon logo, characters, or any thematic elements you wish to include.
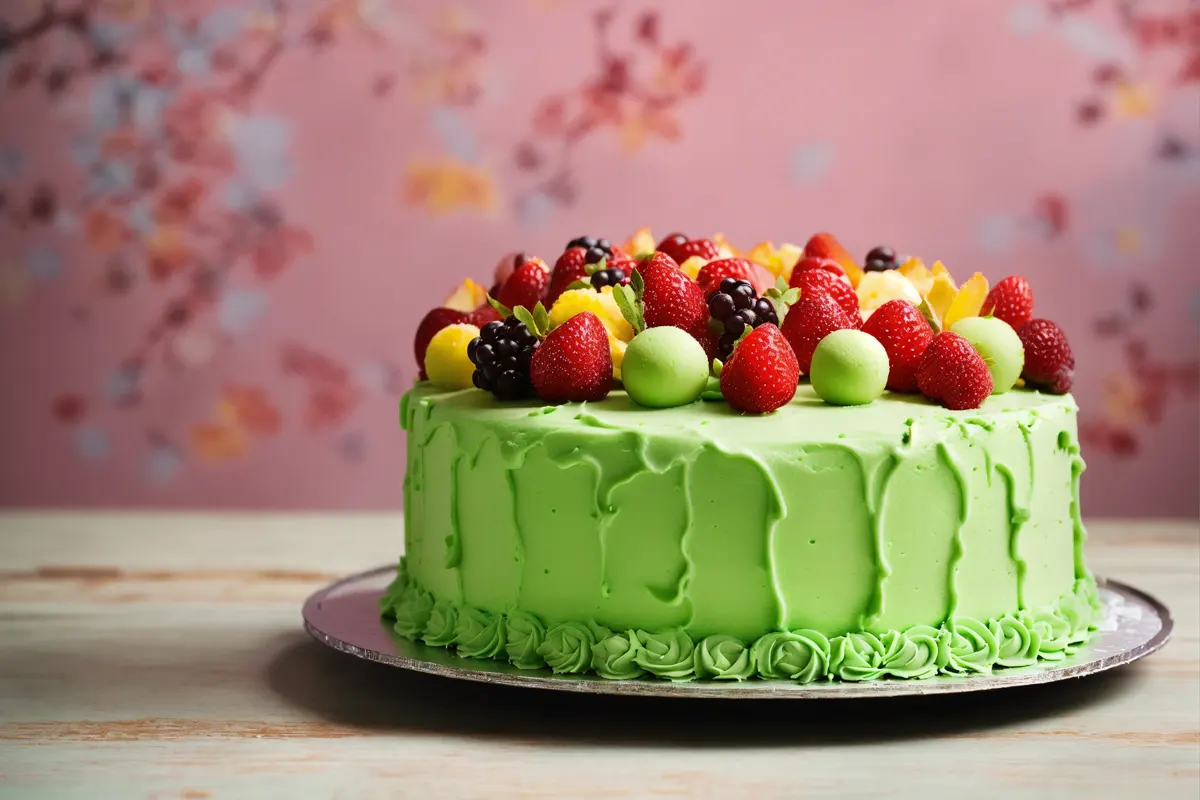
- Piping the Base Colors: Using your colored frostings, start by piping the base elements of your design. For a Cocomelon cake, this usually involves a bright green base for the watermelon effect.
- Adding Details: Once the base layer is complete, add details like the Cocomelon logo, characters, and decorative elements. Use different piping tips to achieve various effects – small round tips for precision work, leaf tips for foliage, etc.
- Creating Textures: For the watermelon texture, you can use a star tip to create small stars in a darker green shade over the lighter green base. This adds depth and texture to the cake.
- Finishing Touches: Add any final touches like borders or additional decorative elements. You can also use fondant for more intricate designs, like character figures or complex shapes.
Tips for Cake Decoration
- Practice your piping techniques beforehand if you’re trying something new.
- Keep a steady hand and apply even pressure for uniform designs.
- For inspiration and more decorating tips, explore our article on creative cake decoration techniques.
Making the Cake in Advance
Preparing Ahead for a Stress-Free Celebration
Planning ahead can save you time and reduce stress on the day of the celebration. Here’s how you can prepare your Cocomelon cake in advance:
- Bake and Freeze: You can bake the cake layers in advance and freeze them for later use. Once baked and cooled, wrap each layer tightly in plastic wrap and place them in airtight containers or resealable bags. Freeze for up to three months.
- Preparing Buttercream: Buttercream frosting can also be made ahead. Store it in an airtight container in the refrigerator for up to a week. Before using, let it come to room temperature and re-whip it for a smooth consistency.
- Thawing: When you’re ready to assemble and decorate the cake, take the frozen cake layers out of the freezer and let them thaw in the refrigerator overnight.
- Decorate Fresh: While you can prepare components in advance, it’s best to decorate the cake as close to the event as possible for the freshest look and taste.
Storage Tips
- Once the cake is decorated, store it in the refrigerator to keep the frosting firm.
- For more information on storing cakes and baked goods, visit our article on cake storage tips.
Final Touches and Presentation
Bringing Your Cocomelon Cake to Life
Your Cocomelon cake is almost complete, and it’s time to add those final touches that will make it truly special. Presentation matters, and this section will guide you on how to make your cake look absolutely stunning.
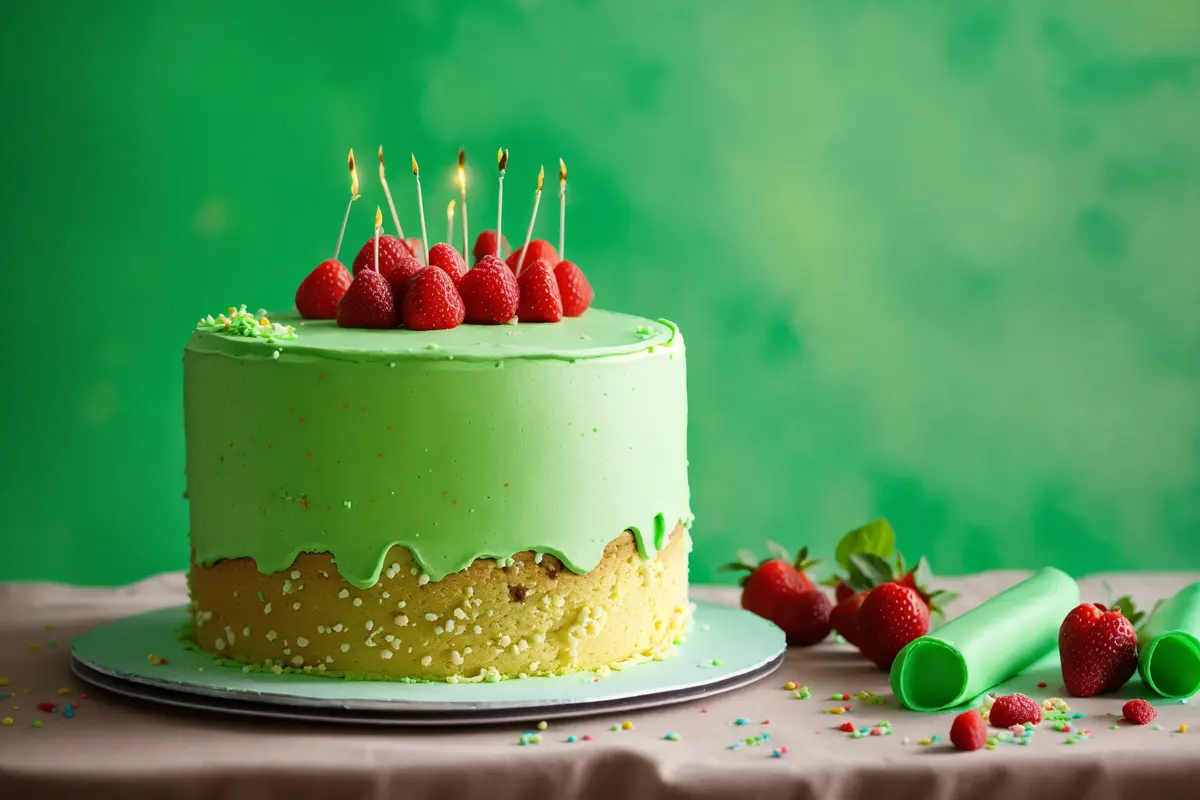
- Adding Extra Decorations: Consider adding a few extra edible decorations that match the Cocomelon theme. This could include small watermelon-shaped candies, colorful sprinkles, or edible glitter.
- Cake Topper: A custom cake topper featuring Cocomelon characters or the birthday child’s name can be a wonderful addition. Place it on top of the cake for a personalized touch.
- Cake Stand: Choose an attractive cake stand or platter that complements the theme. It will not only elevate the cake but also enhance the overall presentation.
- Lighting: If your celebration is in the evening, consider placing LED tea lights or fairy lights around the cake to create a magical atmosphere.
- Serve with Joy: When it’s time to serve the cake, do so with a smile and enthusiasm. Share the story of how the cake was made and its significance to the celebration.
- Capture the Moment: Don’t forget to take photos of the cake before it’s cut and enjoyed. These photos will be cherished memories of the special occasion.
Presentation Tips
- Ensure the cake is at room temperature for the best taste and texture.
- Use a sharp knife to make clean slices when serving.
- For more ideas on cake presentation, explore our article on cake decorating tips.
Frequently Asked Questions
1. Can I use a different cake flavor for my Cocomelon cake?
- Yes, you can! While red velvet cake is commonly used for its vibrant color, you can choose any flavor you prefer. Chocolate or vanilla cakes are popular alternatives.
2. How can I ensure my cake layers are perfectly level?
- Using a cake leveler or a serrated knife, gently trim the top of each cake layer to ensure it’s flat and level. This will help your cake stack evenly.
3. Can I make the buttercream frosting in advance and store it?
- Absolutely! Buttercream frosting can be made in advance and stored in an airtight container in the refrigerator for up to a week. Before using, let it come to room temperature and re-whip it for a smooth consistency.
4. How can I achieve vibrant colors for my frosting?
- Gel food coloring is the best choice for achieving vibrant and vivid colors in your frosting. Start with a small amount and gradually add more until you reach the desired shade.
5. Can I freeze the decorated Cocomelon cake?
- While freezing decorated cakes is possible, it may affect the texture and appearance of the frosting. It’s recommended to freeze cake layers before decoration and assemble and decorate the cake closer to the event for the best results.
6. Where can I find cake toppers featuring Cocomelon characters?
- You can find a variety of Cocomelon-themed cake toppers on online marketplaces, specialty cake decorating stores, or consider making custom cake toppers for a personalized touch.
7. How do I store leftovers of the Cocomelon cake?
- Leftovers should be stored in an airtight container in the refrigerator. Enjoy within a few days to ensure freshness.
8. Can I make a gluten-free Cocomelon cake?
- Yes, you can make a gluten-free version by using a gluten-free flour blend as a substitute for regular cake flour. Ensure it’s a 1:1 substitute and includes xanthan gum if the blend doesn’t already contain it.
9. What’s the best way to transport a Cocomelon cake to a party?
- Use a sturdy cake carrier with a locking lid to transport the cake safely. Keep the cake level and avoid sudden movements to prevent damage.
10. How can I prevent my frosting from becoming too soft during hot weather?
- In warm weather, it’s essential to keep the cake in a cool environment. Consider refrigerating the cake until just before serving to maintain the frosting’s firmness.
Feel free to ask any other questions you may have about making a Cocomelon cake or any other culinary inquiries you might have. We’re here to help!
Conclusion
Creating Your Cocomelon Masterpiece
Congratulations! You’ve journeyed through the steps of making a delightful Cocomelon cake, from baking the perfect red velvet layers to decorating it with vibrant colors and thematic elements. Your dedication and creativity have paid off, and you now have a cake that’s not only delicious but also visually stunning.
The Joy of Homemade
One of the most rewarding aspects of baking a Cocomelon cake is the joy it brings to the celebration. The smiles, the laughter, and the sheer delight on the faces of those who see and taste your creation are priceless.
Keep Exploring
As you continue your baking adventures, remember that there are endless possibilities for creativity. You can explore different cake flavors, experiment with new decorating techniques, and adapt recipes to suit various preferences and dietary needs.
Share Your Success
We encourage you to share your Cocomelon cake journey with us and our community. Feel free to share your photos and stories in the comments section below. Your experience can inspire and guide others on their own baking endeavors.
Thank you for choosing RecipeStrip.com as your guide in creating this delightful masterpiece. We hope this comprehensive guide has been helpful in every step of your cake-making process.
So, what are you waiting for? It’s time to enjoy your Cocomelon cake and the joy it brings to your celebration!
